Preserving cherished memories in a photo album is a great way to look back on special moments and keep them alive forever. However, choosing how to mount your photos inside the album can make all the difference in creating a visually appealing collection. Whether you’re assembling a wedding album, showcasing a creative scrapbook, or simply archiving family pictures, choosing the right mounting method is key to achieving the perfect look and ensuring your photos are organised and well-protected for years to come.
If you’re unsure where to begin when it comes to mounting your images into your photo book, we’re here to help you craft the perfect photo album in the best way to suit your needs. From keeping images organised to arranging them on a page with other keepsakes, we believe that putting together a photo album should be as enjoyable as the memories it contains. Keep reading as we dive into the four main ways you can easily and effectively mount your favourite images into a photo album. From quick and convenient slip-in styles to more creative self-adhesive techniques, find the perfect approach for your project no matter your scrapbooking skill level.
How to mount photos in a photo album
There are many ways to mount photos into a photo album, however, it all depends on the type of photo album you have and how you wish to display your images. Most classic photo albums, such as slip-ins or self-adhesive albums, provide a ready-made option for holding your images. If you opt for a photo album that has paper pages instead, like a scrapbook, you will need to invest in a photo album adhesive to secure your images to the page. The type of adhesive you require will vary depending on how you want to arrange your images on the page and the level of protection you need for your photographs.
Prior to mounting your images, we suggest sorting through your photos and planning the layout for each page. Deciding on the sequence and arrangement, before sticking images down will ensure you get the perfect display. Keep in mind any captions, decorations, or mementos you may want to include around the images. Make sure that during the mounting process, you keep your workspace clean and handle your images by the edges to avoid any fingerprint marks or smudges. Make sure that no matter how you choose to display your images inside a photo album to always use acid-free, photo-safe adhesives and test them out on a small spot or spare prior to use to ensure they won’t damage your photos.
Once all your images are mounted on the pages you can get creative with the display and add any writing or decorations to make it truly unique to you. Make sure to not overcrowd the pages, so that your photos remain the focal point. Once all your photos and embellishments are mounted, flip through the pages to ensure everything is secure and properly aligned. Finally, we recommend taking your time and enjoying this process, take it as an opportunity to relive and celebrate your favourite memories while getting creative.
What to use to stick photos in an album?
There are many ways you can choose to stick your images into a photo album, however, it all comes down to the type of album you’re working with, how well you want to preserve your images and the way you want to display your photos in the album. Choosing the right materials not only makes the process more convenient but is essential to protecting your photos. Below we have listed a few of the best options for sticking photographs in albums.
Photo corners and double-sided dots
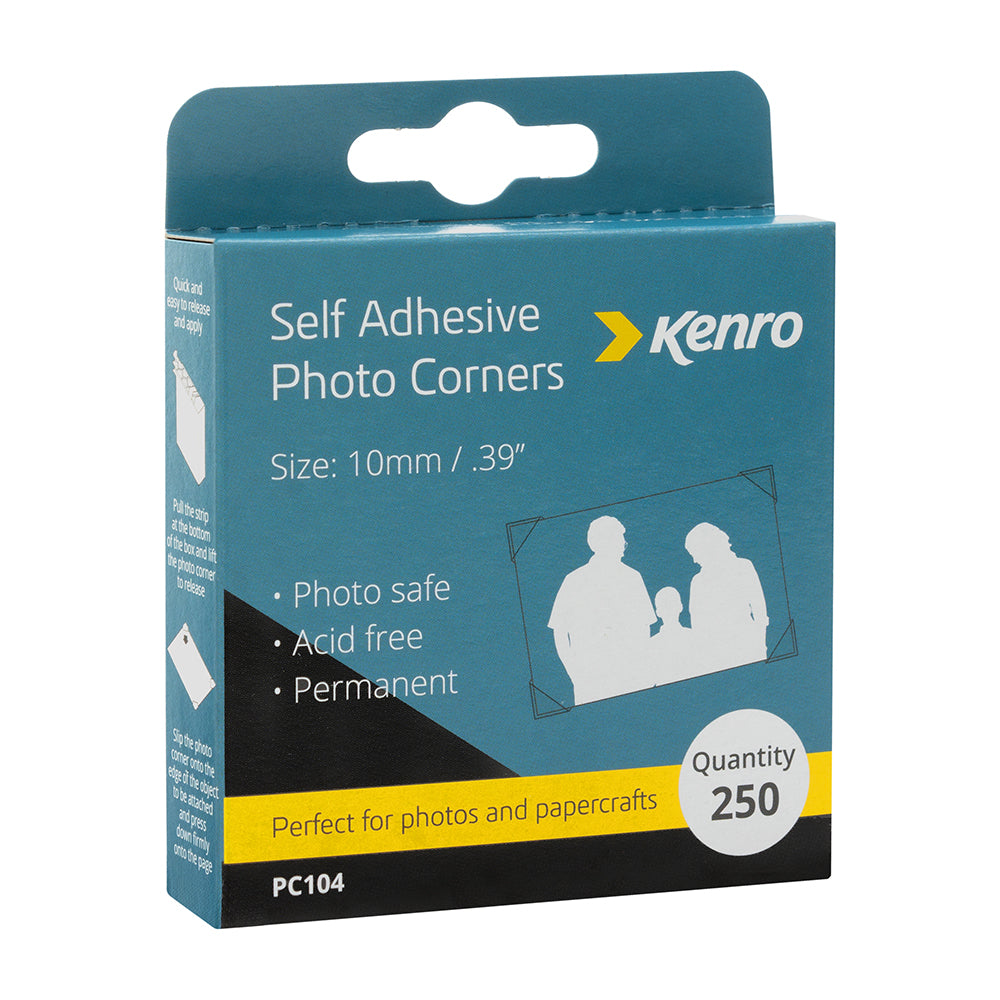
Photo corners are a popular option for sticking down your images as they do not affect the photo itself because the adhesive is applied to the page rather than the image itself. These are used in photo albums that have paper pages for more of a scrapbook style. These small, triangular pockets attach to the album page and allow you to slip the photo in securely. Offering the option to remove or rearrange images at a later date, photo corners are ideal for displaying vintage photos to add to the old-time charm, or art prints so you can swap your favourite pieces in and out. It’s important to note that in some instances, your photos may come loose from the photo corners, depending on how frequently the album is used and how it is stored, therefore if you want extra security we recommend using these in addition to another adhesive.
To use photo corners, attach a corner to each edge of the photo, then position it onto the page and press it down securely.


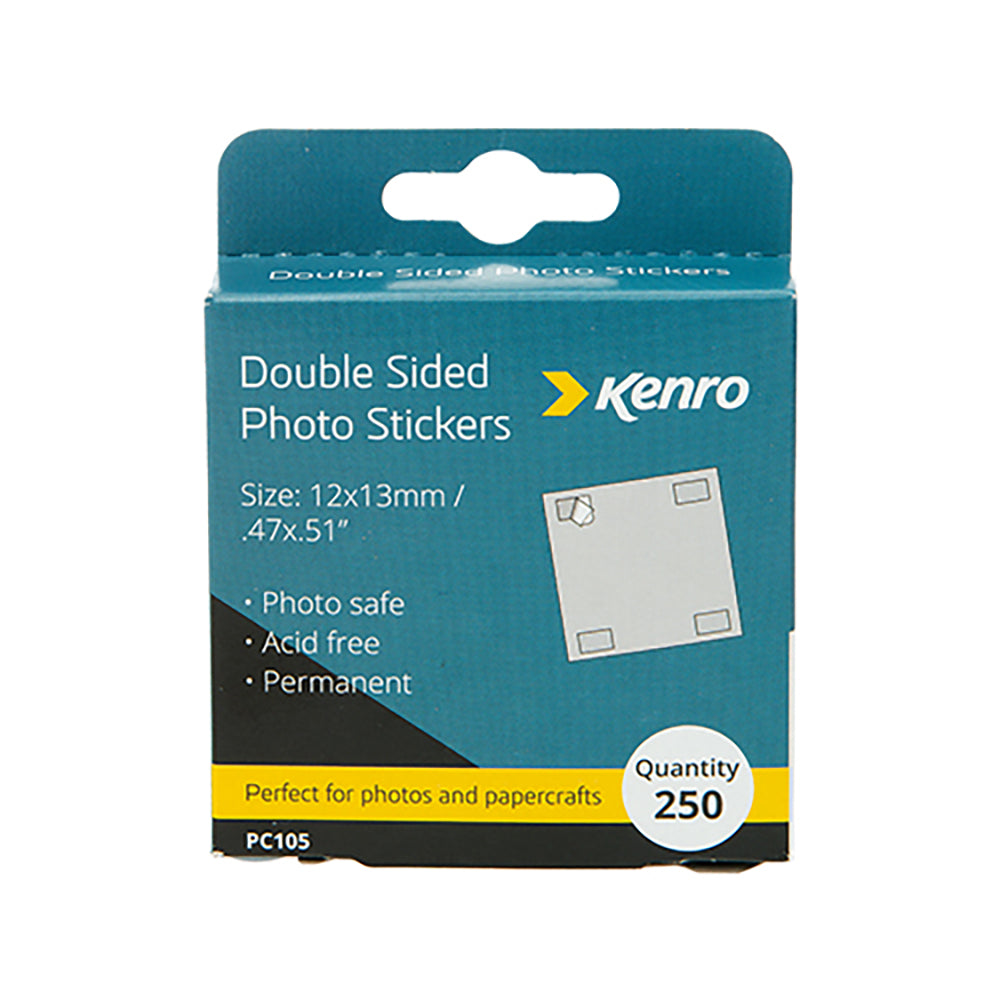
Photo Corners and Double Sided Tabs
If you want to create a clean, seamless finish, double-sided photo stickers or glue dots are the best options. These stickers are acid-free meaning that they won’t damage your photos over time and will work well with most album types. Simply stick a double-sided dot in each corner of your photo and secure it in the desired position on the page. These dots may be small but they provide a strong bond that is ideal for mounting images of various sizes to create a tidy, professional-looking result.
Adhesive sprays and tape
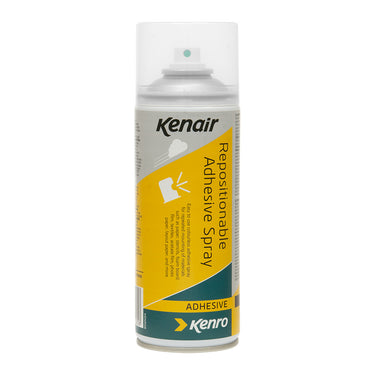
For larger images or irregular-shaped prints, a photo-safe adhesive spray may be the better option as it allows you to get an even coating on the image, creating secure adhesion to the page. We suggest only using this type of adhesive if you want the images to be permanently stuck down, as it is stronger than glue dots and may be difficult to remove the photo without damaging it once stuck down. The Kenair adhesive spray in particular is colourless and will not show through or wrinkle lightweight materials, making it great for scrapbooking as it can be used on paper, film, textiles, layout paper and more.
To use adhesive spray when mounting your images, lightly spray the back of your chosen photo in a well-ventilated area, then press it onto the page evenly.


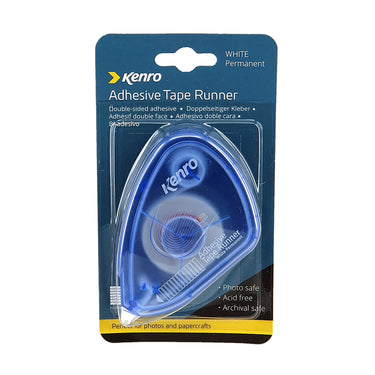
Kenair Adhesive Sprays and Adhesive Tape Runner
Double-sided adhesive tape is also a great option for mounting images to scrapbooks or traditional photo albums, as it allows for precision when sticking down your images, making it easy to arrange them in unique ways on the page. Our tape in particular is acid-free and photo-safe, making it a great choice for those looking to display and preserve images securely.
Self-adhesive photo albums
Some photo albums come with self-adhesive pages that use a sticky, clear plastic sheet to hold your photos in place. These are simple to use and the most convenient choice, making them ideal for those looking to display a large quantity of images. However, it is essential to choose a high-quality, acid-free self-adhesive album in order to prevent damage and discolouration to your photos over time. Browse through our full collection of photo albums to find the right fit for your photo mounting needs.
To mount images onto self-adhesive album pages, simply peel back the clear plastic sheet, position your photo on the sticky page, and smooth the plastic back over the photo to secure it.
Get creative with your photo albums with Kenro
Create a scrapbook filled with pictures and mementos, or thoughtfully display special images from a specific occasion with our full range of photo adhesives and photo albums.


